Indoor plant care becomes much easier when every plant has a clear place, a measurable watering cue, and a response plan for trouble. This guide will help you set up that system for a Monstera, fiddle-leaf fig, snake plant, or mixed indoor collection without turning your living room into a greenhouse. You will finish with a placement method, a consolidated care routine, a decision table, and an example you can adapt to an apartment, home office, or residential design project.
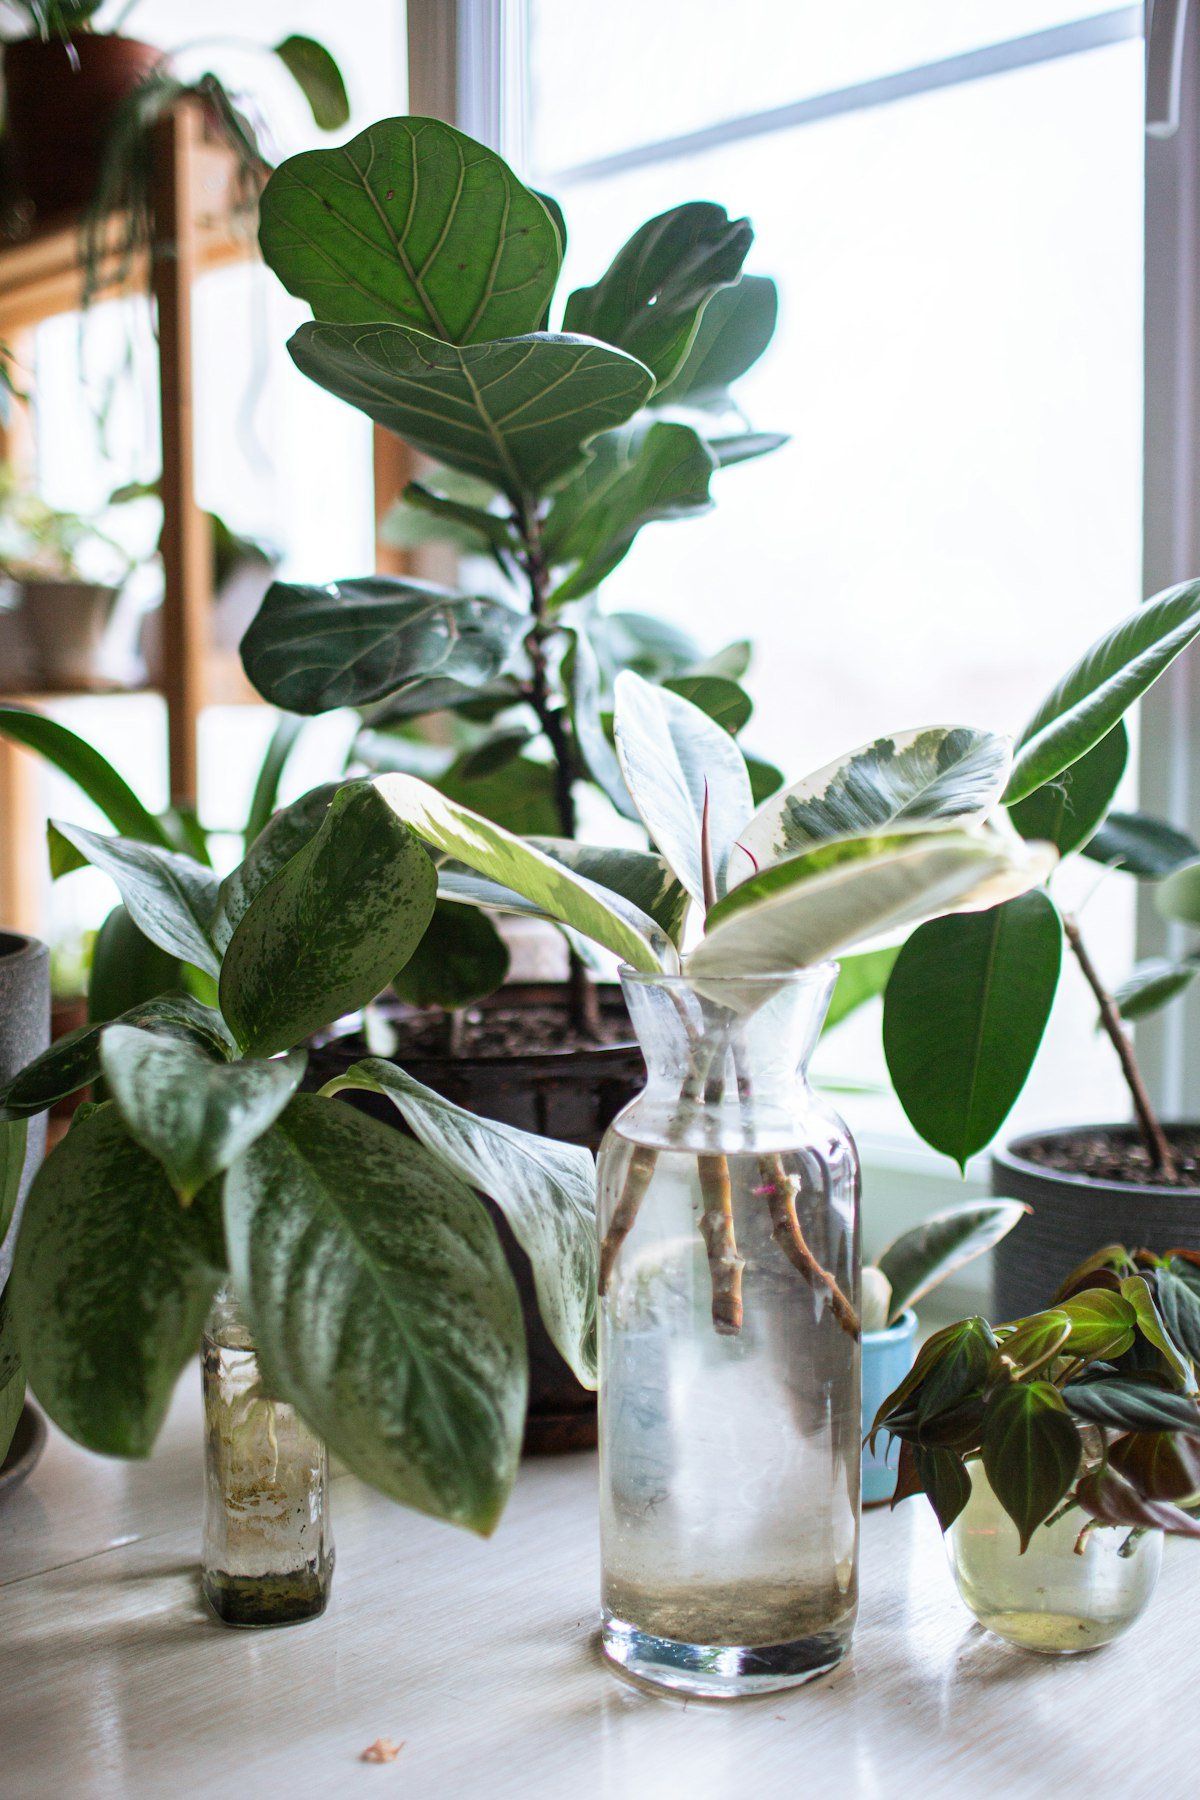
Start with a plant-and-room assessment
Before buying a decorative pot or opening the watering can, record what you have and what each room can actually provide. Indoor plants fail less often from a lack of enthusiasm than from a mismatch between plant requirements and placement. A sculptural fiddle-leaf fig placed in a dim corner may look right for a week, but its appearance cannot compensate for insufficient usable light.
Make a short plant brief
Give every plant a one-line brief containing its identity, current container, light exposure, and the symptom you are watching. If you do not know the exact species or cultivar, photograph the leaves and label it “unidentified” rather than making a confident guess. Watering, toxicity, mature size, and light tolerance can differ substantially between plants that look similar at a glance.
- Plant identity: record the common name and botanical name if known.
- Container status: note whether the pot has a drainage hole and whether it sits inside a cachepot.
- Light description: write “bright window,” “filtered light,” or “dim interior,” then note the direction of the nearest window.
- Room conditions: record drafts, radiators, air-conditioning vents, and likely temperature swings.
- Household constraints: mark pets, children, narrow walkways, and furniture surfaces that must stay dry.
This inventory is especially useful for interior designers and busy homeowners managing several rooms. It separates a plant problem from a styling problem: a plant may be healthy but visually oversized, or beautifully proportioned but poorly matched to the room’s light.
Use symptoms as clues, not diagnoses
Yellow leaves, brown tips, drooping, and leaf drop are signals rather than single-cause diagnoses. A yellow lower leaf can be normal aging; several yellow leaves after frequent watering may indicate a root-zone problem; crisp brown edges can reflect dry soil, low humidity, salt buildup, or direct heat. Look for patterns across several leaves and compare the soil, roots, and recent changes before intervening.
The Royal Horticultural Society explains that houseplant care depends on factors including light, watering, temperature, humidity, and feeding, rather than on a single universal routine. Its houseplant care overview is a useful reference for building that broader assessment in 2026: RHS, “Caring for houseplants”.
Working rule: change one major variable at a time when possible. Moving a plant, repotting it, increasing watering, and adding fertilizer on the same day makes the eventual result difficult to interpret.
Match each plant to usable light
Light is the energy source that allows a plant to make and maintain leaves. “Bright room” is not a precise plant-care category: a room may feel bright to a person while the plant sits several feet from the window, behind a sheer curtain, or below a deep overhang. Start by evaluating the plant’s actual position, not the room’s overall mood.
Read the window, distance, and obstruction
For a practical home assessment, observe the space at the time when you expect to use it. A window with direct sun may suit a sun-tolerant plant, while a bright but filtered exposure may be safer for a plant with leaves that scorch easily. Nearby buildings, trees, blinds, tinted glass, and seasonal sun angles all change the amount of light reaching the foliage.
- Bright direct exposure: the plant receives strong sun on its leaves for part of the day; acclimate plants gradually if they came from a shaded retail display.
- Bright indirect exposure: the space is well lit but the leaves are protected from intense midday rays by distance, a curtain, or reflected light.
- Low-light placement: the plant is far from a window or in a shaded room; choose tolerant plants and expect slower growth.
- Artificial-light placement: use a suitable grow light when the room cannot provide enough natural light, and keep its schedule consistent.
The University of Minnesota Extension describes light as one of the key factors in houseplant growth and recommends considering both the direction of windows and the distance from them. Its houseplant basics resource provides a reliable 2026 reference for evaluating indoor placement: University of Minnesota Extension, “Houseplant basics”.
Let growth tell you when to adjust
Plants communicate light stress through growth. Long gaps between leaves, small new leaves, leaning toward a window, or loss of variegation can indicate that the plant needs more usable light. Bleached patches, crispy translucent areas, or sudden browning on the window-facing side can indicate excessive intensity or a rapid transition.
Illustrative starting policy: rotate a plant a quarter turn every 7–14 days if it is leaning, then adjust the interval when the plant remains balanced or begins twisting toward the light. This is not a universal schedule. Stop rotating if one side is intentionally being trained toward a focal direction, and move the plant farther from the glass if leaf scorch appears.
For a modern interior, treat light as part of the design brief. A tall snake plant can occupy a darker architectural corner more reliably than a fiddle-leaf fig. A Monstera may become a strong focal point near a bright window, but it needs room for expanding leaves and support as it matures. The most attractive arrangement is the one that keeps the plant in a viable location rather than forcing every plant into the same visual composition.
Build a watering decision, not a watering calendar
Watering is where many indoor plant care routines become unreliable. A fixed “water every Sunday” rule ignores pot size, soil composition, season, light, plant size, and room temperature. Instead, decide based on the moisture condition of the root zone and the needs of that plant.
Check the root zone before adding water
Inspect the soil at more than one depth. The surface can look dry while the center of a large pot remains wet, or the top can stay damp while roots near the drainage holes have dried. Push a clean finger into the mix where possible, lift the pot to compare its weight with a recently watered pot, and use a wooden skewer for deep containers. These methods are imperfect, but together they are more useful than the calendar alone.
- Dry-loving plants: allow more of the mix to dry before watering, especially in low light or cool rooms.
- Even-moisture plants: water when the upper portion has dried but before the entire root ball becomes hard and resistant to rewetting.
- Recently repotted plants: inspect more cautiously because a larger container can hold moisture longer than the old one.
- Plants in cachepots: empty collected water so the inner pot is not sitting in a reservoir.
When watering is appropriate, wet the mix thoroughly enough that water begins to leave the drainage opening, then allow excess water to escape. The University of Missouri Extension discusses thorough watering and drainage as central parts of houseplant care; see its stable guide for additional context: University of Missouri Extension, “Growing Indoor Plants”.
Use one consolidated care routine
To avoid several overlapping inspection systems, use the following as your single routine. The timing is deliberately a starting policy rather than a promise that every plant needs the same interval.
| Routine stage | Illustrative starting policy | What to check | Signal to adjust |
|---|---|---|---|
| Quick visual scan | During normal room use; no fixed extra visit required | Wilting, fallen leaves, pests, scorch, tipped pots, blocked vents | Investigate immediately when a new symptom appears; do not automatically water |
| Root-zone check | Once every 7 days for a new collection | Soil moisture at an appropriate depth, pot weight, drainage, saucer or cachepot water | Shorten the interval if plants repeatedly become severely dry; lengthen it if soil stays wet |
| Care action | Only when the root-zone check supports it | Water, rotate, move, clean leaves, or isolate a problem plant | Change one major variable and observe the next new growth or moisture cycle |
| Monthly record | Once every 4 weeks | New growth, leaf loss, pests, pot stability, fertilizer history, placement changes | Revise the plant brief when the room or season changes |
Illustrative starting policy: begin with a seven-day root-zone check for unfamiliar plants, then replace that interval with a plant-specific rhythm based on how quickly the mix dries. The signal for a shorter interval is repeated severe wilting before the next check; the signal for a longer interval is soil that remains wet and a plant showing soft, yellowing, or declining foliage. Do not convert either signal into a universal number.
Distinguish thirst from root trouble
A wilted plant may need water, but watering can worsen a plant whose roots are damaged or starved of oxygen. If the soil is wet and the plant is drooping, inspect drainage and roots before watering again. Sour-smelling mix, persistent wetness, black or mushy roots, and repeated decline despite moisture are reasons to investigate the container and root system.
Keep the container and soil working together
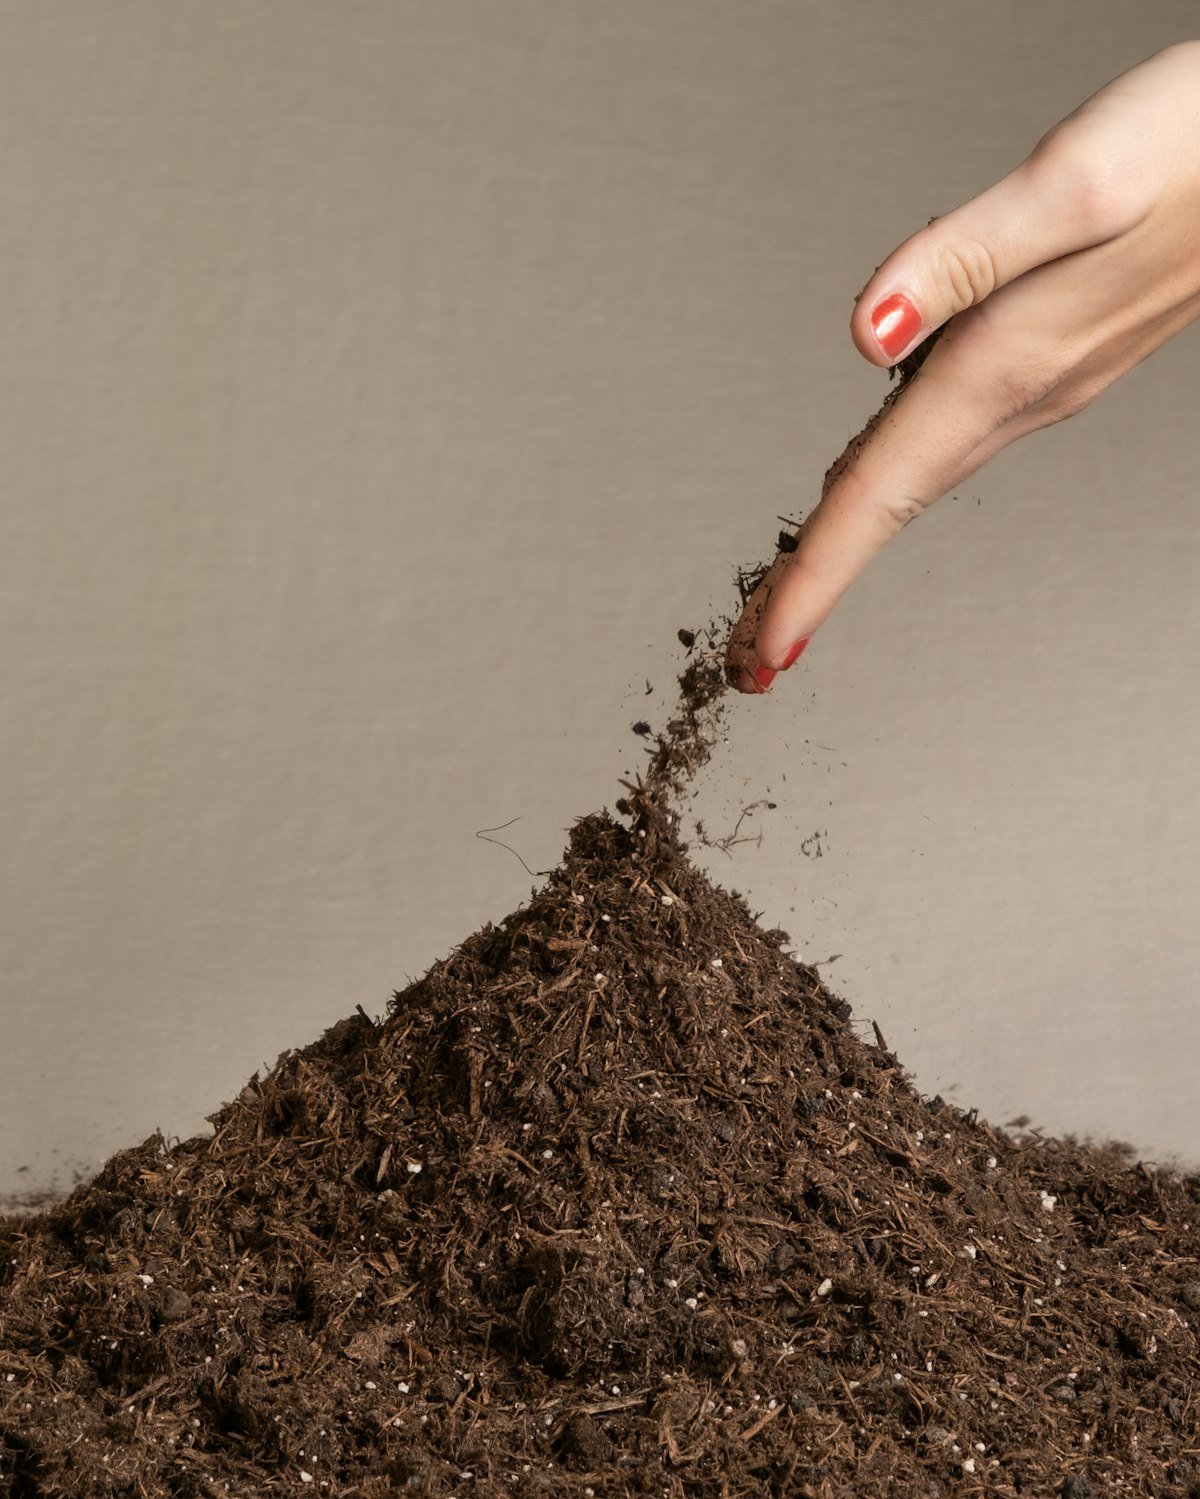
A healthy root system needs both moisture and air. The pot, drainage opening, saucer, and growing medium form one system; changing one part alters how quickly the rest dries. A decorative outer pot can be useful, but it should not conceal standing water or prevent you from checking the plant.
Choose function before finish
For most indoor plants, use a container with a drainage opening and a saucer or waterproof tray that protects the furniture. A cachepot without a hole can still serve as an outer vessel if the plant remains in a removable inner pot. Lift the inner pot when watering, let it drain, and return it only after excess water has stopped flowing.
- Pot too large: the unused mix may stay wet for a long time around a small root ball.
- Pot too small: the plant may dry quickly, become top-heavy, or develop roots circling densely around the container.
- No drainage: moisture is difficult to remove when watering exceeds the plant’s immediate needs.
- Heavy decorative vessel: stability improves, but moving the plant for watering or inspection becomes less practical.
Repot because of evidence, not impatience
Repot when roots are tightly circling, emerging from the drainage opening, rapidly drying the container, or when the medium has broken down and no longer drains predictably. A plant that has merely outgrown its visual arrangement may need pruning or a new outer pot, not a disruptive root disturbance.
Illustrative starting policy: when repotting, move up only one practical container size at a time and monitor moisture afterward. This is a starting policy, not a universal pot-sizing law. If the new mix stays wet much longer than before, the container may be too large, the mix too moisture-retentive, or the plant receiving too little light.
Use a commercial medium appropriate to the plant group rather than treating garden soil as a default indoor mix. Garden soil can compact in a container and reduce air space around roots. For a collection, label each amended mix so you can reproduce what worked rather than relying on memory.
Fertilize only when active growth supports it
Fertilizer is not a rescue treatment for poor light, waterlogged roots, or pest damage. It supplies nutrients, but applying more to a struggling plant can add salt stress or complicate diagnosis. Feed only according to the product label and the plant’s active-growth conditions.
Reduce or pause feeding when growth has slowed substantially, the plant is stressed, or the root system has recently been disturbed. The signal to resume is stable care conditions and visible active growth, not a fixed date on the calendar.
Manage leaves, pests, pets, and room conditions
Once light, water, and roots are working, maintenance becomes largely observational. Clean leaves can display their color and texture more clearly, while early pest detection keeps a small problem from spreading across a collection. Your room design also needs to support access: a plant hidden behind furniture is harder to inspect and easier to neglect.
Make inspection easy
During the single weekly root-zone check described above, look at the undersides of leaves, stem joints, new growth, and the soil surface. Search for fine webbing, cottony clusters, scale-like bumps, sticky residue, distorted leaves, or clusters of tiny moving insects. A phone flashlight can make small pests easier to see without requiring special equipment.
- Isolate a suspect plant from nearby plants while you identify the issue.
- Record the date and symptom so you can tell whether the problem is spreading or improving.
- Remove badly damaged leaves with clean tools when they no longer contribute to the plant’s appearance or function.
- Follow the product label if using a pest treatment, including directions for repeat applications and ventilation.
- Recheck nearby plants because pests can move through touching foliage and shared handling.
Do not use a household cleaner, essential oil, or improvised pesticide on foliage simply because it is convenient. A leaf’s waxy surface can react differently to products, and sunlight after treatment may increase damage. Test any labeled plant product according to its directions, and keep treated plants away from pets and children as appropriate.
Control drafts without chasing a perfect climate
Keep plants away from direct blasts from heating or cooling vents, frequently opened exterior doors, and cold glass during freezing weather. Humidity can matter, but a humidifier is not a substitute for correct watering, adequate light, or ventilation. Grouping plants can create a slightly more cohesive display, but it does not eliminate the need to inspect each pot individually.
For pet homes, verify each plant by its exact identity before placing it within reach. The ASPCA maintains a searchable list of toxic and non-toxic plants for cats, dogs, and horses, but its listings should be treated as a starting point rather than permission to let pets chew foliage: ASPCA, “Toxic and Non-Toxic Plants”. If a pet has eaten a plant, contact a veterinarian or an appropriate animal poison-control service promptly.
Use styling to support maintenance
Leave enough clearance to turn the pot, reach the soil, and remove it from a cachepot. Put a tray beneath plants on wood, stone, or painted furniture. For a minimalist room, one large healthy plant usually creates a stronger focal point than several crowded plants competing for the same window.
Interior designers can make the care plan part of the handoff: identify the plant, mark the preferred light direction, specify the drainage arrangement, and state who is responsible for checking moisture. That small amount of documentation protects the design intent after installation.
Work through one complete example
Consider a beginner furnishing a bright apartment living room. They have a Monstera near an east-facing window, a fiddle-leaf fig beside a brighter south-facing window with a sheer curtain, and a snake plant on a console several feet from the nearest window. The goal is a calm, modern arrangement with no daily plant chores.
Translate the room into decisions
- Assess the Monstera: check whether new leaves are expanding and whether the plant leans toward the window. If it leans, rotate it according to the illustrative starting policy or move it slightly closer to usable light.
- Assess the fiddle-leaf fig: inspect the window-facing leaves for scorch and the soil below the surface for moisture. Do not water merely because a lower leaf has yellowed.
- Assess the snake plant: use pot weight and soil dryness to decide whether it needs water. Its position may dry slowly if the room is dim or cool.
- Protect the furniture: keep all three plants in inner pots with drainage and use trays or cachepots that can be emptied.
- Record the baseline: photograph each plant, note its placement, and write down the date of the first root-zone check.
Suppose the fiddle-leaf fig’s soil remains damp at the next check while the snake plant is still firm and dry only near the surface. The correct response is not to water both plants for convenience. Delay the fig’s watering and continue observing its drainage; inspect the snake plant more deeply before deciding. Meanwhile, the Monstera’s new leaf is small and the stem leans, so its light placement deserves adjustment rather than extra fertilizer.
After one or two care cycles, revise the notes. If the fig develops scorch after the curtain is opened, soften its exposure or increase distance from the glass. If the Monstera continues leaning despite rotation, give it a more suitable support or brighter placement. If the snake plant stays wet for an unusually long period, check the pot size, soil structure, and room conditions before adding water.
This example demonstrates the central system: each plant gets a separate decision, but all plants are reviewed through one routine. That keeps care manageable without pretending that a collection behaves like a single organism.
What to do first: complete one baseline check today
Start with the plant that is most important to your room or most likely to fail: usually the newest purchase, the plant showing symptoms, or the largest plant placed in a difficult corner. Photograph it, identify its container and drainage, describe its light, and check the root-zone moisture before changing anything.
- Move only if the placement is clearly unsuitable: avoid a dramatic relocation based on a single yellow leaf.
- Water only when the root-zone evidence supports it: drain excess water and empty the tray or cachepot.
- Write one adjustment signal: for example, “move closer if new leaves remain small” or “check drainage if soil stays wet.”
- Repeat the same inspection routine: use the illustrative weekly check until the plant’s drying pattern becomes familiar, then adjust to the plant’s signals.
Once that first plant has a clear brief, apply the same process to the rest of the room: light, container, moisture, symptoms, and one adjustment signal. CozyPlant can help you choose curated indoor plants such as Monstera, fiddle-leaf fig, and snake plants for a modern home; browse the collection through CozyPlant and keep the care brief with the plant you bring home.
Related CozyPlant guides
- Houseplant watering guide
- How much light houseplants need
- How to repot a houseplant
- Common houseplant pests
- Why houseplant leaves turn yellow
FAQ
What is the most important part of indoor plant care?
Match the plant to the room’s actual light first. Watering, drainage, and placement are easier to get right once the light is usable.
How often should I water indoor plants?
There is no universal calendar. Check the growing medium and adjust for light, pot size, season, and room conditions.
Why do indoor plant leaves turn yellow?
Yellow leaves are a pattern, not a single diagnosis. Check watering, drainage, light, pests, and whether older leaves are simply aging.
Authored with NotFair SEO
Pingback: Indoor Plants for Home: How to Choose & Care for Them
Pingback: Indoor Plant Decor: How to Style Your Home With Plants
Pingback: Why Houseplant Leaves Turn Yellow: A Pattern-Based Diagnosis Guide
Pingback: Low-Light Plants for Minimalist Apartments: 5 Easy Choices
Pingback: Snake Plant Care: Complete Beginner's Guide
Pingback: How Much Light Do Houseplants Need? Indoor Guide
Pingback: Indoor Plant Shop: How to Choose Plants for Your Home