For successful fiddle leaf fig indoor care, place the plant near bright, filtered light, let the upper soil dry before watering thoroughly, and give it a stable, draft-free position. Start with a pot that drains, wipe dust from the large leaves, and change one condition at a time when the plant struggles. This approach produces a fuller, more intentional-looking plant without turning care into a daily chore.
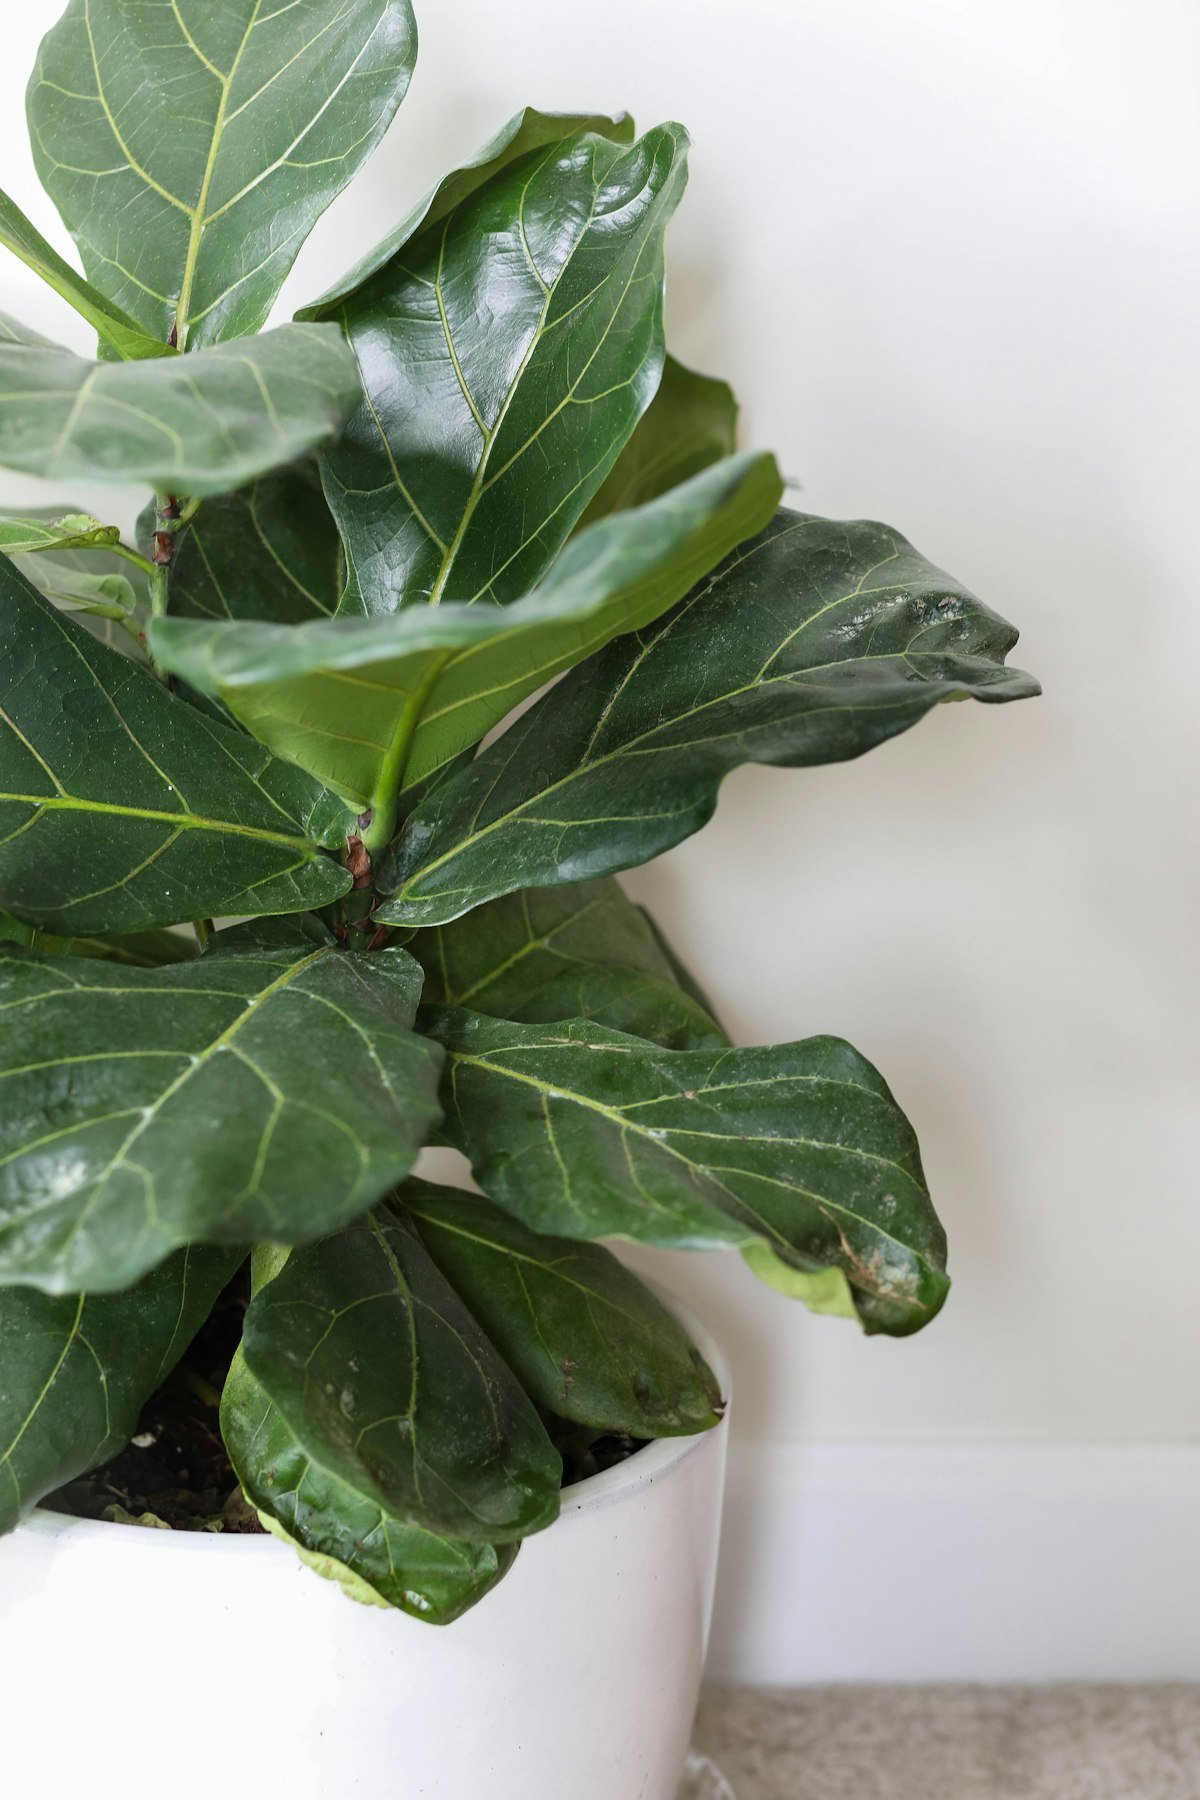
Choose the right plant and location
A fiddle-leaf fig, botanically Ficus lyrata, is best treated as a light-hungry indoor tree rather than a flexible tabletop plant. Before buying one, decide whether your room can supply the light and floor space it will need. A tall plant can anchor a living-room corner, but it becomes a poor choice if the only available position is several feet from a small window.
Look for a specimen with firm leaves, a stable stem, and no obvious webbing, scale-like bumps, or clusters of insects around leaf joints. A few cosmetic marks are not automatically a problem, but widespread spotting or limp new growth deserves caution. The North Carolina Extension Gardener Plant Toolbox describes fiddle-leaf fig as a plant suited to bright light and notes its sensitivity to changes in growing conditions, making a suitable permanent location important from the beginning: North Carolina State Extension’s plant profile.
Match the plant to the room
- Best position: close to a bright window with protection from harsh, concentrated afternoon sun if the glass makes the leaves hot.
- Useful furniture rule: leave enough clearance to rotate or inspect the plant without scraping leaves against a wall.
- Avoid: heating vents, frequently opened exterior doors, and narrow passageways where foliage will be brushed.
- For apartments: choose a smaller branching plant rather than buying a tall specimen that immediately blocks the window or walkway.
Do not use a calendar to decide that a dim corner is “good enough.” If new leaves emerge smaller, the stem leans strongly toward the window, or lower leaves drop while the soil remains wet, light or root stress may be involved. Move the plant gradually toward a brighter position and observe new growth rather than expecting damaged leaves to repair themselves.
Set up drainage, soil, and support
The goal is not a particular branded potting mix; it is a root zone that holds some moisture while allowing excess water to escape. Use a container with a real drainage hole and a saucer that can be emptied. A decorative cachepot without drainage can conceal standing water, so lift the nursery pot out when watering rather than pouring blindly into the outer vessel.
A practical starting mix is quality indoor potting soil amended with a chunky, air-opening material such as perlite or fine orchid bark. This is an illustrative starting policy, not a universal recipe: adjust if the mix stays wet for many days, dries almost immediately, or becomes difficult to re-wet. The signal to change the mix is the root-zone behavior, not the label on the bag.
| Observation | Likely decision | Action |
|---|---|---|
| Water runs through quickly and the soil pulls from the pot edge | Mix may be too dry or compacted unevenly | Soak slowly in stages; inspect roots and mix at the next repot |
| Soil remains saturated and smells sour | Drainage, root loss, or watering frequency may be the issue | Check the hole and roots; reduce watering until the upper mix dries |
| Roots circle densely or emerge from the hole | Container may be restricting the root ball | Repot one container size larger into fresh, airy mix |
| Stem bends toward the window | Light is directional or insufficient | Improve brightness and rotate gradually, if the plant tolerates it |
Stake only when the stem genuinely needs support. A loose tie that guides the trunk is safer than binding it tightly. Large leaves can make a young plant top-heavy, but forcing a rigid shape often creates rubbing and stem damage.
Build a watering routine from soil signals
Water when the upper portion of the mix has dried and the pot feels noticeably lighter, then water slowly until some drains from the bottom. Empty the saucer afterward. The exact interval depends on window exposure, pot size, soil, temperature, and the plant’s root mass, so a fixed weekly schedule is less reliable than checking the soil.
Use an illustrative starting policy of checking once or twice weekly, not automatically watering once or twice weekly. Adjust the policy when the soil is still wet at every check, leaves become persistently limp, or the pot dries much faster than expected. Those signals tell you to change the amount of water, the interval, the light, or the drainage—not simply to add fertilizer.
Watering method that avoids false readings
- Push a finger into the upper soil or use a wooden stick to inspect below the surface.
- Lift the pot before watering and notice its weight; this becomes a useful comparison over time.
- Pour slowly around the soil surface rather than onto the trunk.
- Wait for drainage, then discard water collected in the saucer or cachepot.
- Recheck the plant after a day or two if leaves remain limp or the mix seems unevenly wet.
Brown, crispy edges can reflect inconsistent moisture, dry air, salt buildup, or root trouble, so they are not proof that the plant needs more water. Yellowing leaves combined with wet soil are a stronger reason to investigate the roots and drainage before watering again. Keep a short note of watering and observations for a month; the pattern is more useful than a generic care calendar.
Manage light and seasonal changes
Bright indoor light powers the plant’s growth, but a sudden move from a dim store or hallway into intense direct sun can scorch leaves. Increase exposure progressively by moving it closer to the window over several days and watching for heat stress. Sheer curtains can soften intense sun while preserving useful brightness.
Turn the pot a small amount during routine checks if growth is becoming one-sided. This is an illustrative starting policy, not a requirement: adjust the rotation only when the plant is visibly leaning or developing unevenly. If leaves pale, scorch, or curl after a move, reduce direct intensity and evaluate heat from the glass.
In winter, shorter days and closed curtains can reduce available light. Move the plant nearer to the brightest suitable window, but keep foliage away from cold glass and drafts. If you add a grow light, follow the manufacturer’s distance guidance and use a timer; the correct setting depends on the lamp, room, and plant response. New, steady growth is a more useful success signal than a particular number of hours.
Prune, clean, and feed without overcorrecting
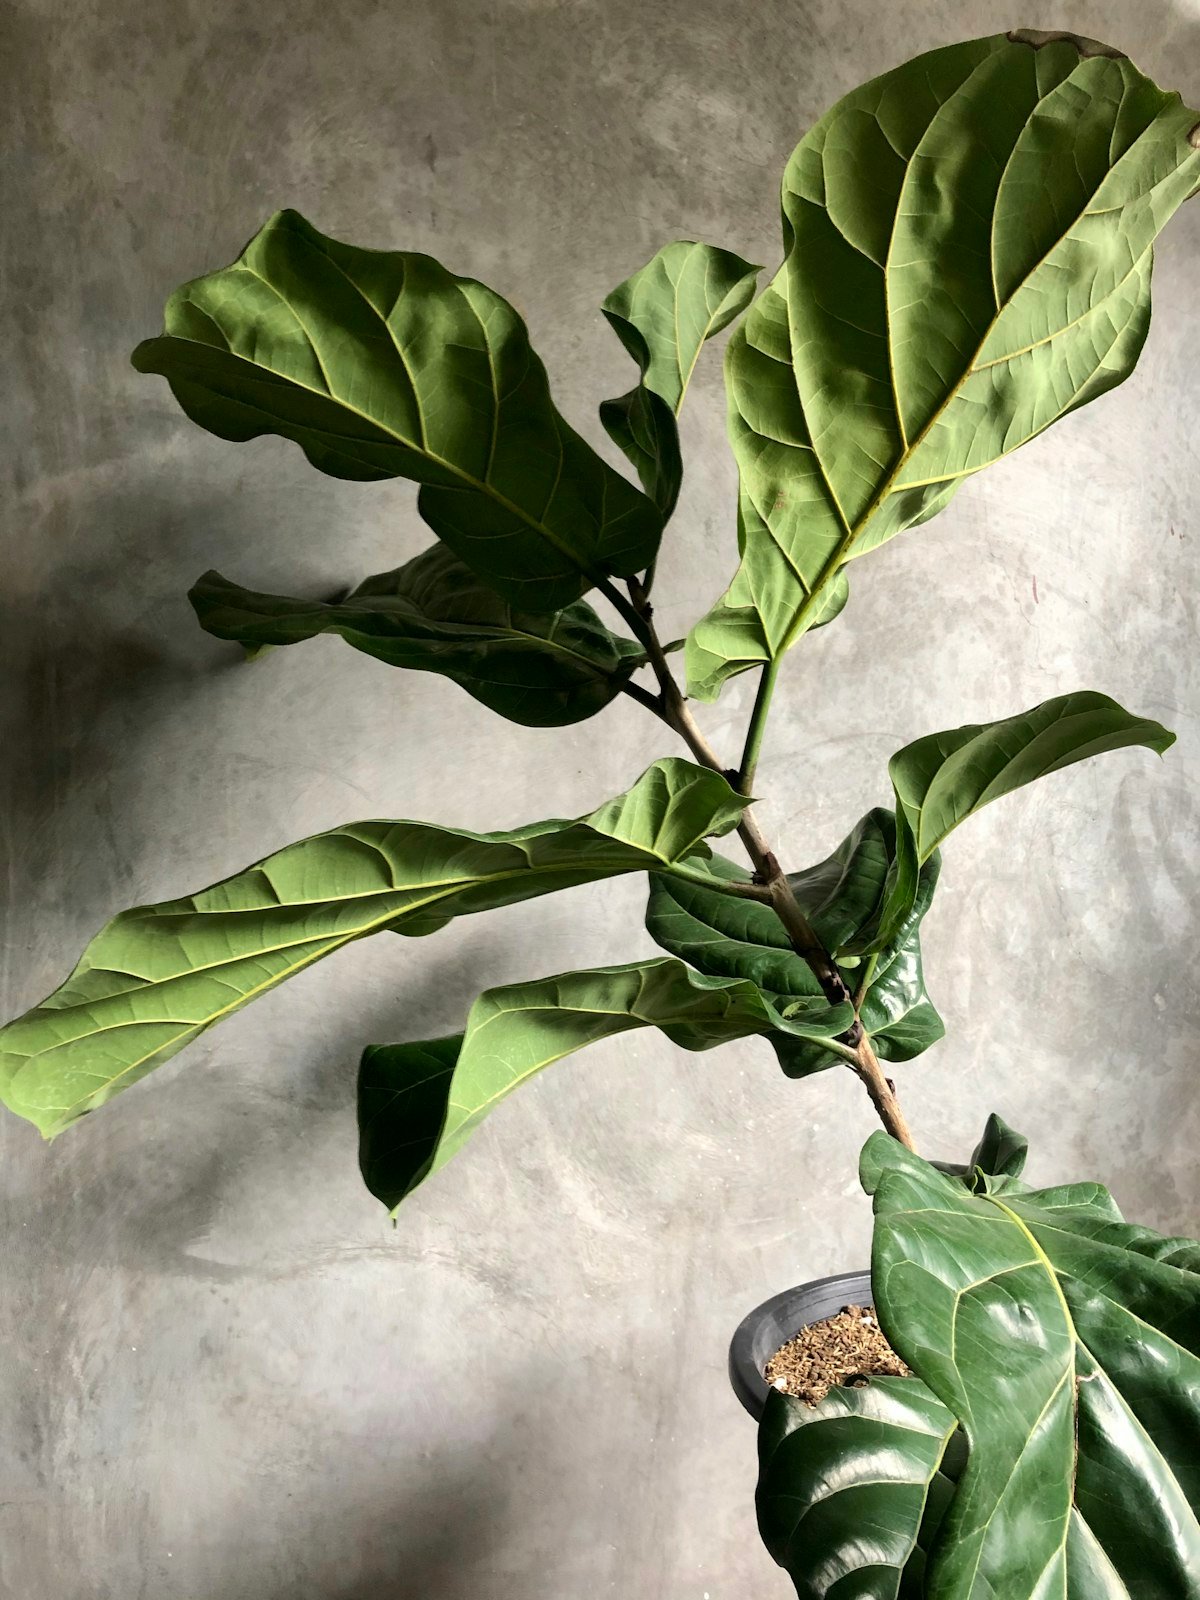
Large leaves collect dust that can shade their surface and make pest inspection harder. Support each leaf with one hand and wipe gently with a clean, damp cloth. Do not use leaf-shine products, oils, or household cleaners. Remove fully dead leaves with clean scissors, cutting close to the stem without tearing healthy tissue.
Prune for a specific outcome: a shorter silhouette, branching, or removal of damaged growth. Make cuts just above a healthy node with clean tools. Avoid removing many healthy leaves at once, because the plant needs foliage to support recovery and new growth. For a minimalist interior, one deliberate cut is usually better than repeated tip-picking that creates an awkward outline.
Fertilize only when the plant is actively growing and already receiving suitable light and water. Follow the product label rather than improvising a strong concentrate. An illustrative starting policy is to begin below the label’s maximum frequency and increase only if growth is weak despite good light and healthy roots. Back off when leaf tips burn, a crust forms on the soil, or the plant is stressed from repotting or relocation.
Worked example: a living-room corner
Imagine a 1.2-metre plant placed beside a bright east-facing window in a ceramic cover pot. First, keep it in its draining nursery pot and confirm that the cover pot never holds runoff. Check the soil twice weekly for the first month, watering only when the upper mix has dried and the pot feels light. Rotate it slightly when the trunk begins leaning, wipe the leaves monthly, and record whether new leaves are larger and firm.
If the soil is still wet at every check, do not respond by adding fertilizer. Inspect the drainage hole, assess whether the room is unusually cool, and look for root damage at the next suitable opportunity. If the plant instead dries in a day and leaves wilt repeatedly, move it out of hot direct sun only if heat is the cause, then reassess pot size, mix, and watering depth.
Diagnose problems in the right order
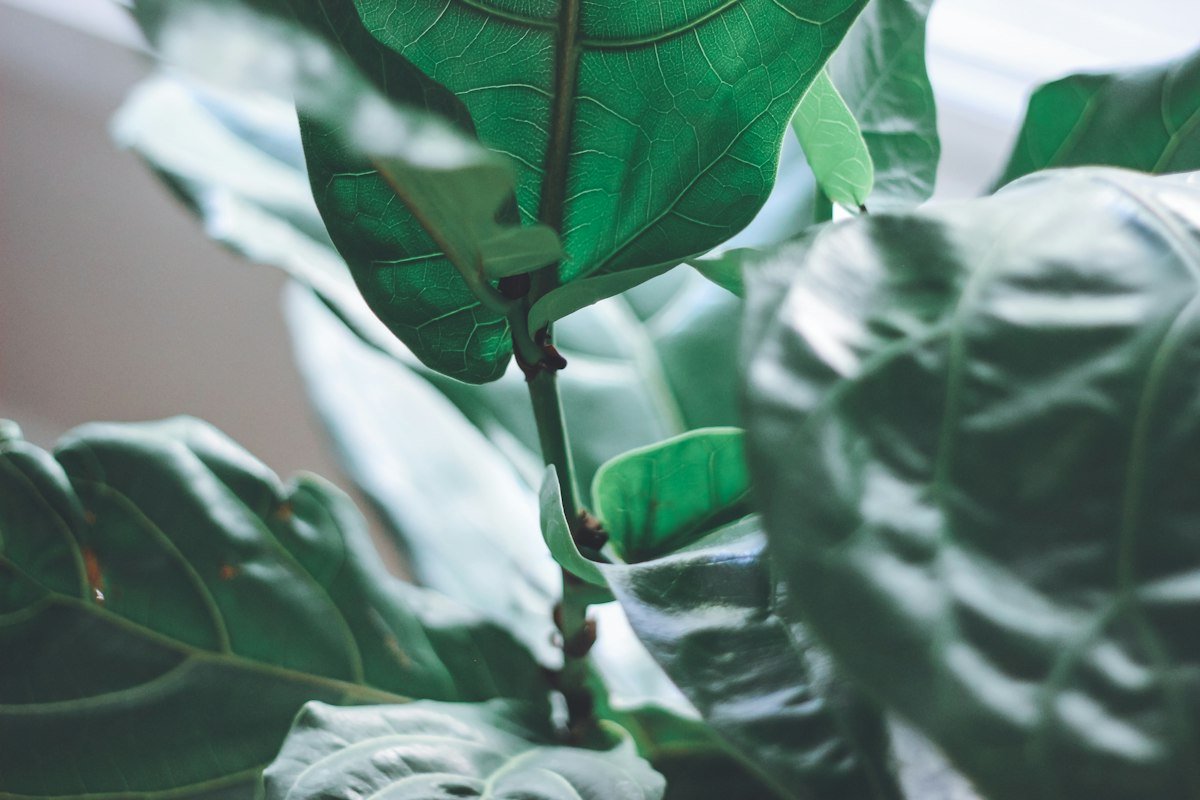
Start with the newest growth and the soil, then inspect the underside of leaves and the stem. This order prevents a common mistake: treating every brown mark as a watering problem. Change one major variable at a time so you can tell whether the plant improves.
- Yellow leaves and wet soil: check drainage, root condition, and watering frequency before increasing light or feeding.
- Brown crispy edges: compare watering consistency, direct heat, humidity, and fertilizer buildup.
- Sudden leaf drop: review recent moves, temperature changes, drafts, and root-zone moisture.
- Sticky residue, webbing, or specks: isolate the plant and inspect leaf undersides and joints for pests.
- Small or widely spaced new leaves: reassess usable light and whether the plant is actively growing.
Quarantine a suspect plant from other houseplants while you identify the issue. Remove pests manually where practical and use only treatments labeled for the plant and pest. Fiddle-leaf fig sap can irritate people and is toxic to cats and dogs if eaten; the ASPCA’s fiddle-leaf fig listing supports keeping it away from chewing pets and washing hands after pruning.
For additional diagnosis, compare your symptoms with the Clemson Cooperative Extension fiddleleaf fig guide, which covers common cultural problems and care considerations. Extension guidance is most useful when paired with your own observations of light, moisture, roots, and recent changes.
Make your first move today
First, choose the brightest stable location with room for growth, then place the plant in a draining pot and check the soil before watering. Take one photo of the plant and write down the date, light direction, soil condition, and pot weight. Recheck after several days and adjust only the condition that the plant’s signals point toward.
For a ready-to-style starting point, explore CozyPlant for curated indoor plants suited to modern, nature-inspired rooms, then use this care plan to match the plant to your home rather than forcing your home to match the plant.
Authored with NotFair SEO